You want perfectly cooked chicken tenders—crispy on the outside, juicy on the inside—but how long should you actually pan fry them? Cooking chicken tenders might seem simple, but getting the timing just right can be tricky.
Too short, and your chicken stays raw inside; too long, and it turns dry and tough. In this guide, you’ll discover the ideal pan-frying time and handy tips to make your chicken tenders golden, tender, and full of flavor every single time.
Keep reading, and you’ll never have to guess how long to cook your chicken tenders again.

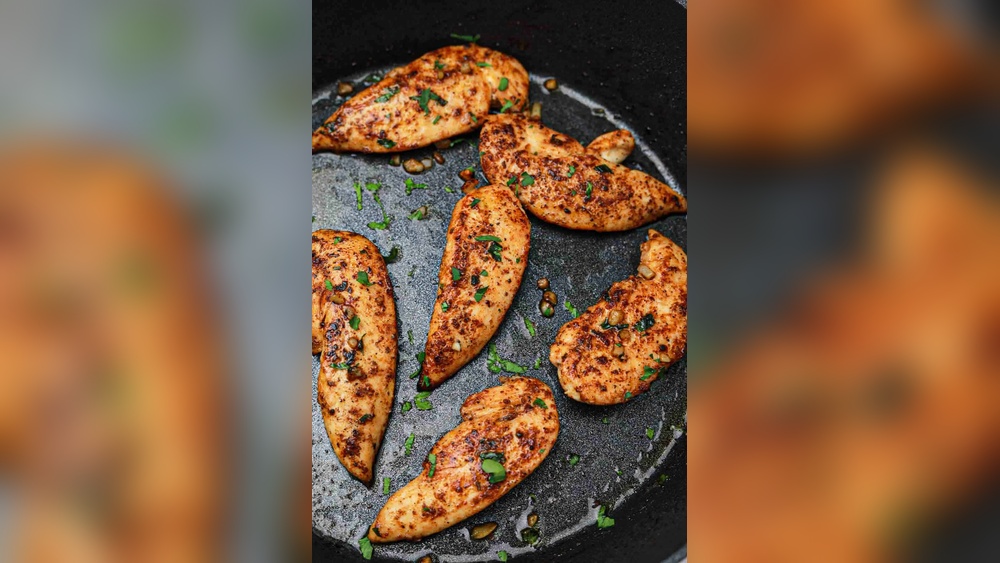
Credit: www.jerseygirlcooks.com
Choosing Chicken Tenders
Choosing the right chicken tenders is the first step to perfect pan frying. The quality and type of tenders affect cooking time and texture. Picking fresh or frozen chicken and considering size matters a lot. These factors help achieve juicy and well-cooked tenders every time.
Fresh Vs Frozen
Fresh chicken tenders cook faster than frozen ones. Frozen tenders need thawing before frying. Cooking frozen tenders directly can cause uneven cooking. Fresh tenders have a softer texture and better flavor. Frozen tenders are convenient and last longer in the freezer. Thaw frozen tenders in the fridge overnight for best results.
Size And Thickness
Smaller tenders cook quickly and evenly. Thick tenders take longer to cook through. Cutting thick tenders into smaller pieces helps reduce cooking time. Uniform size ensures all tenders cook at the same rate. Thick tenders risk being raw inside if not cooked properly. Adjust frying time based on the tender size for best results.
Preparing Chicken Tenders
Preparing chicken tenders is the first step to cooking them perfectly. Proper preparation ensures juicy, flavorful results. Simple steps can make a big difference in taste and texture.
Start with fresh or thawed chicken tenders. Pat them dry with paper towels. This helps the seasoning and breading stick better. Dry tenders also brown nicely during cooking.
Seasoning Options
Seasoning adds flavor and depth to chicken tenders. Use salt and pepper as a base. Add garlic powder, paprika, or onion powder for extra taste. Herbs like thyme or oregano give a fresh touch. Marinate tenders in buttermilk or yogurt for tenderness and flavor.
Breading Techniques
Breading creates a crispy crust on chicken tenders. Use a three-step process: flour, egg wash, and breadcrumbs. Coat tenders in seasoned flour first. Dip them in beaten eggs to help the crumbs stick. Press breadcrumbs evenly onto the tenders. Panko crumbs give extra crunch. For best results, chill breaded tenders for 15 minutes before frying.
No-breading Alternatives
Chicken tenders can also be cooked without breading. Season well and pan fry directly for a lighter option. This lets the chicken’s natural flavor shine. Use a non-stick pan and enough oil to prevent sticking. Cook tenders on medium heat until golden and cooked through. No-breading tenders cook faster and are easier to prepare.
Pan Selection And Oil Choices
Choosing the right pan and oil is important for perfect chicken tenders. The pan affects heat distribution and browning. The oil influences flavor and cooking temperature. Both impact how long you pan fry chicken tenders and their final taste.
Best Pan Materials
Cast iron pans hold heat well and create a crispy crust. They need seasoning to keep food from sticking. Stainless steel pans heat evenly and are easy to clean. They work well for high heat cooking. Non-stick pans require less oil and clean quickly. They are good for tender chicken but do not brown as well as cast iron.
Types Of Cooking Oils
Use oils with high smoke points to avoid burning. Canola oil has a neutral taste and high smoke point. Vegetable oil is affordable and heats evenly. Peanut oil adds a slight nutty flavor and resists high heat. Olive oil has a lower smoke point but works for medium heat cooking. Avoid butter alone as it burns quickly but mix with oil for flavor.
Heat Settings For Pan Frying
Heat settings play a key role in pan frying chicken tenders. The right temperature cooks the chicken evenly. It also ensures a golden, crispy outside and juicy inside. Too low heat makes chicken soggy and greasy. Too high heat burns the outside while leaving the inside raw. Finding the perfect heat balance improves taste and texture.
Medium-high Heat Benefits
Medium-high heat is ideal for pan frying chicken tenders. It heats the oil enough to create a crisp crust. The chicken cooks quickly without drying out. This heat level locks in juices and flavor. It helps chicken reach a safe temperature fast. It also prevents the tenders from soaking up too much oil.
Avoiding Overheating
Overheating the pan can burn chicken tenders. Burnt spots taste bitter and ruin the dish. High heat cooks the outside too fast but leaves the inside raw. It can also smoke the oil, making a mess. To avoid overheating, watch the pan closely. Lower the heat if the oil starts to smoke. Cook in small batches to keep the pan hot but controlled.
Cooking Time Guidelines
Knowing the right cooking time helps make perfect chicken tenders every time. Cooking time depends on the chicken’s state, coating, and thickness. Proper timing ensures juicy, safe-to-eat chicken without dryness.
Use medium-high heat and a little oil to brown the chicken well. Avoid overcrowding the pan to keep the temperature steady. Cook in batches if needed for best results.
Cooking Raw Chicken Tenders
Raw chicken tenders usually take 3 to 4 minutes per side. Cook until the internal temperature reaches 165°F (74°C). The chicken should be white and firm, not pink or translucent.
Turn tenders carefully to avoid breaking the coating or drying the meat. Use a meat thermometer for accuracy and safety.
Timing For Breaded Vs Unbreaded
Breaded chicken tenders need a bit longer, about 4 to 5 minutes per side. The breading should be golden and crispy. Keep an eye on the heat to avoid burning the coating.
Unbreaded tenders cook faster, usually 3 to 4 minutes per side. They brown nicely and stay juicy without extra coating.
Adjusting For Thickness
Thicker tenders take longer to cook through, about 5 to 6 minutes per side. Thinner pieces cook faster, so check them after 2 to 3 minutes.
Flatten thick tenders with a meat mallet for even cooking. Always check the center to avoid undercooked chicken.
Techniques To Achieve Crispiness
Achieving crispy chicken tenders requires more than just cooking time. The right techniques ensure a golden, crunchy outside while keeping the inside juicy. Small details during pan frying make a big difference in texture.
Using the correct oil amount, not overcrowding the pan, and flipping at the right time all contribute to perfect crispiness. These methods help chicken tenders cook evenly and develop a delightful crust.
Proper Oil Amount
Use enough oil to cover the pan’s surface evenly. The oil should reach about 1/4 inch deep. This allows heat to distribute well and helps the coating crisp up. Too little oil causes sticking and uneven browning.
Choose oils with a high smoke point like vegetable or canola oil. Heat the oil on medium-high until shimmering but not smoking. This temperature crisps the outside without burning the chicken.
Avoiding Overcrowding
Place chicken tenders in a single layer without touching each other. Overcrowding traps steam, making the coating soggy. Cook in batches if the pan is small. This keeps the oil hot and maintains crispiness.
Leave space between pieces so heat circulates well. Proper spacing helps each tender brown evenly on all sides. It also prevents the oil temperature from dropping too much.
Flipping Tips
Flip chicken tenders only once during cooking. Frequent turning breaks the crust and slows browning. Wait until the bottom side is golden and releases easily from the pan. This usually takes 3 to 4 minutes per side.
Use tongs to gently turn the tenders. Avoid pressing down, which squeezes juices out and softens the coating. Flipping carefully keeps the crust intact and the chicken juicy inside.
Checking Doneness
Checking doneness is essential to cook chicken tenders safely and perfectly. Undercooked chicken can cause health risks. Overcooked chicken becomes dry and tough. Knowing how to check doneness ensures juicy and safe chicken every time.
Using A Meat Thermometer
A meat thermometer is the most accurate way to check doneness. Insert it into the thickest part of the tender. The safe temperature for chicken is 165°F (74°C). Once it reaches this, the chicken is fully cooked. Avoid touching the pan with the thermometer to get a correct reading.
Visual And Texture Cues
Look at the color of the chicken inside and outside. Cooked chicken tenders have no pink inside; they are white throughout. The outside should be golden brown and slightly crisp. Press the tender gently with a fork or finger. It should feel firm but still have some bounce. If it feels very soft or squishy, it needs more cooking time.
Common Mistakes To Avoid
Avoiding common mistakes helps cook perfect chicken tenders every time. Small errors can ruin texture and flavor. Knowing what to watch out for improves your pan frying results. Focus on these key points for juicy, crispy tenders.
Overcooking
Overcooking makes chicken tenders dry and tough. Cook tenders just until white inside and juices run clear. Use medium heat and check often. Remove from heat as soon as they are done.
Undercooking
Undercooked chicken is unsafe and unpleasant. Always cook tenders until no pink remains inside. Use a meat thermometer if unsure; 165°F is safe. Cut open one tender to check before serving.
Steaming Instead Of Frying
Adding too much oil or crowding the pan causes steaming. Steamed tenders become soggy, not crispy. Use just enough oil to coat the pan. Fry in small batches with space between pieces for best results.
Serving Suggestions
Serving pan-fried chicken tenders is a great chance to get creative. The right sides and sauces make the meal even better. Here are some easy ideas to enjoy your crispy chicken tenders to the fullest.
Dipping Sauces
Dipping sauces add flavor and fun to chicken tenders. Classic options include honey mustard, ranch, and barbecue sauce. For a spicy kick, try buffalo sauce or sriracha mayo. Sweet chili sauce or garlic aioli also work well. Serve a few sauces on the side so everyone can pick their favorite.
Side Dishes
Chicken tenders pair well with many simple sides. Fresh garden salad adds crunch and freshness. Crispy fries or sweet potato fries are perfect for a comfort meal. Steamed vegetables keep the meal light and healthy. Coleslaw or macaroni and cheese bring creamy textures to the plate. Choose sides that balance the crispy chicken and keep the meal satisfying.
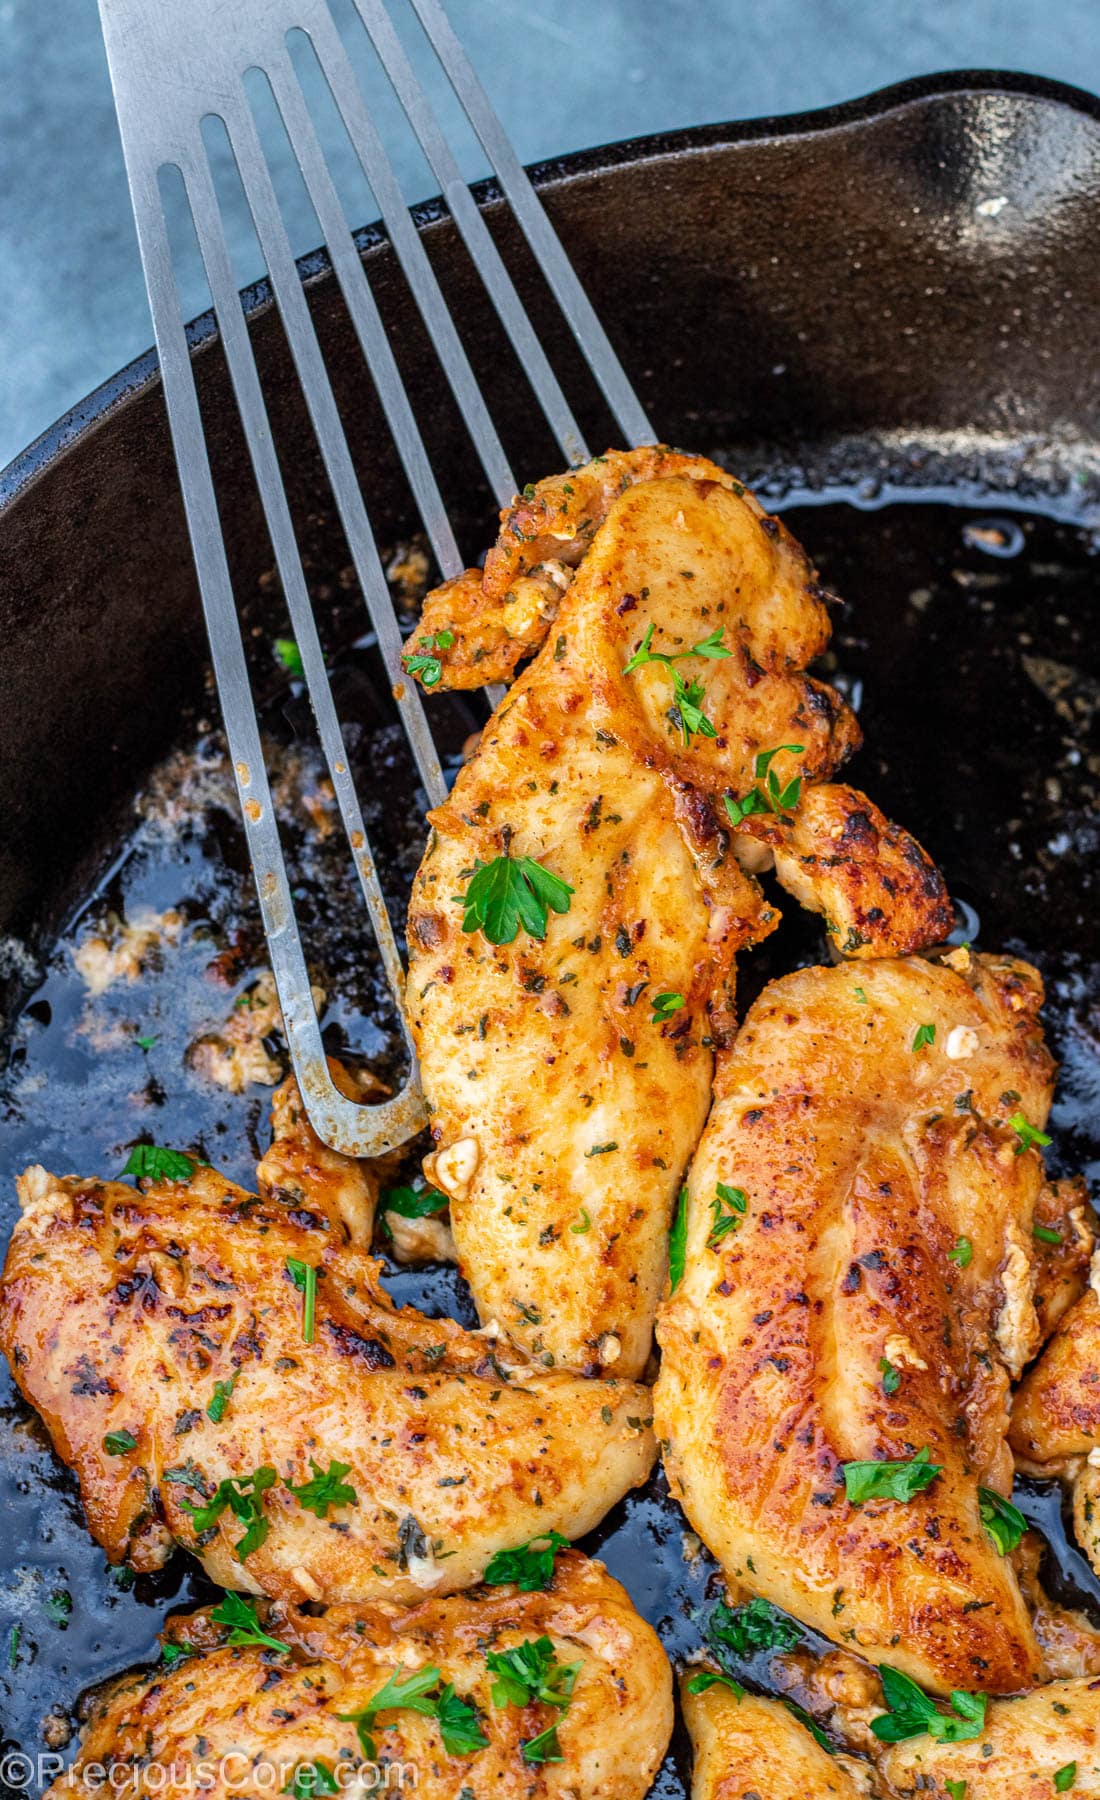
Credit: www.preciouscore.com
Storage And Reheating Tips
Storing and reheating chicken tenders properly keeps them tasty and safe to eat. Following smart storage and reheating tips helps maintain their flavor and texture. This section covers how to keep your chicken tenders crispy after storage and the best ways to reheat them.
Keeping Crispy After Storage
Cool chicken tenders completely before storing. Place them in an airtight container to avoid moisture. Use paper towels inside the container to absorb extra moisture. Store tenders in the fridge for up to 3 days. Avoid stacking tenders directly on each other to prevent sogginess. For longer storage, freeze tenders wrapped in foil or plastic wrap, then place in a freezer bag.
Best Reheating Methods
Use an oven or air fryer to reheat chicken tenders for crispiness. Preheat the oven to 375°F (190°C). Arrange tenders on a baking sheet in a single layer. Heat for 10 to 15 minutes, flipping halfway through. For an air fryer, set it to 350°F (175°C) and heat for 5 to 7 minutes. Avoid microwaving, as it makes tenders soggy and chewy. Let tenders rest for a minute before serving to keep the crunch.
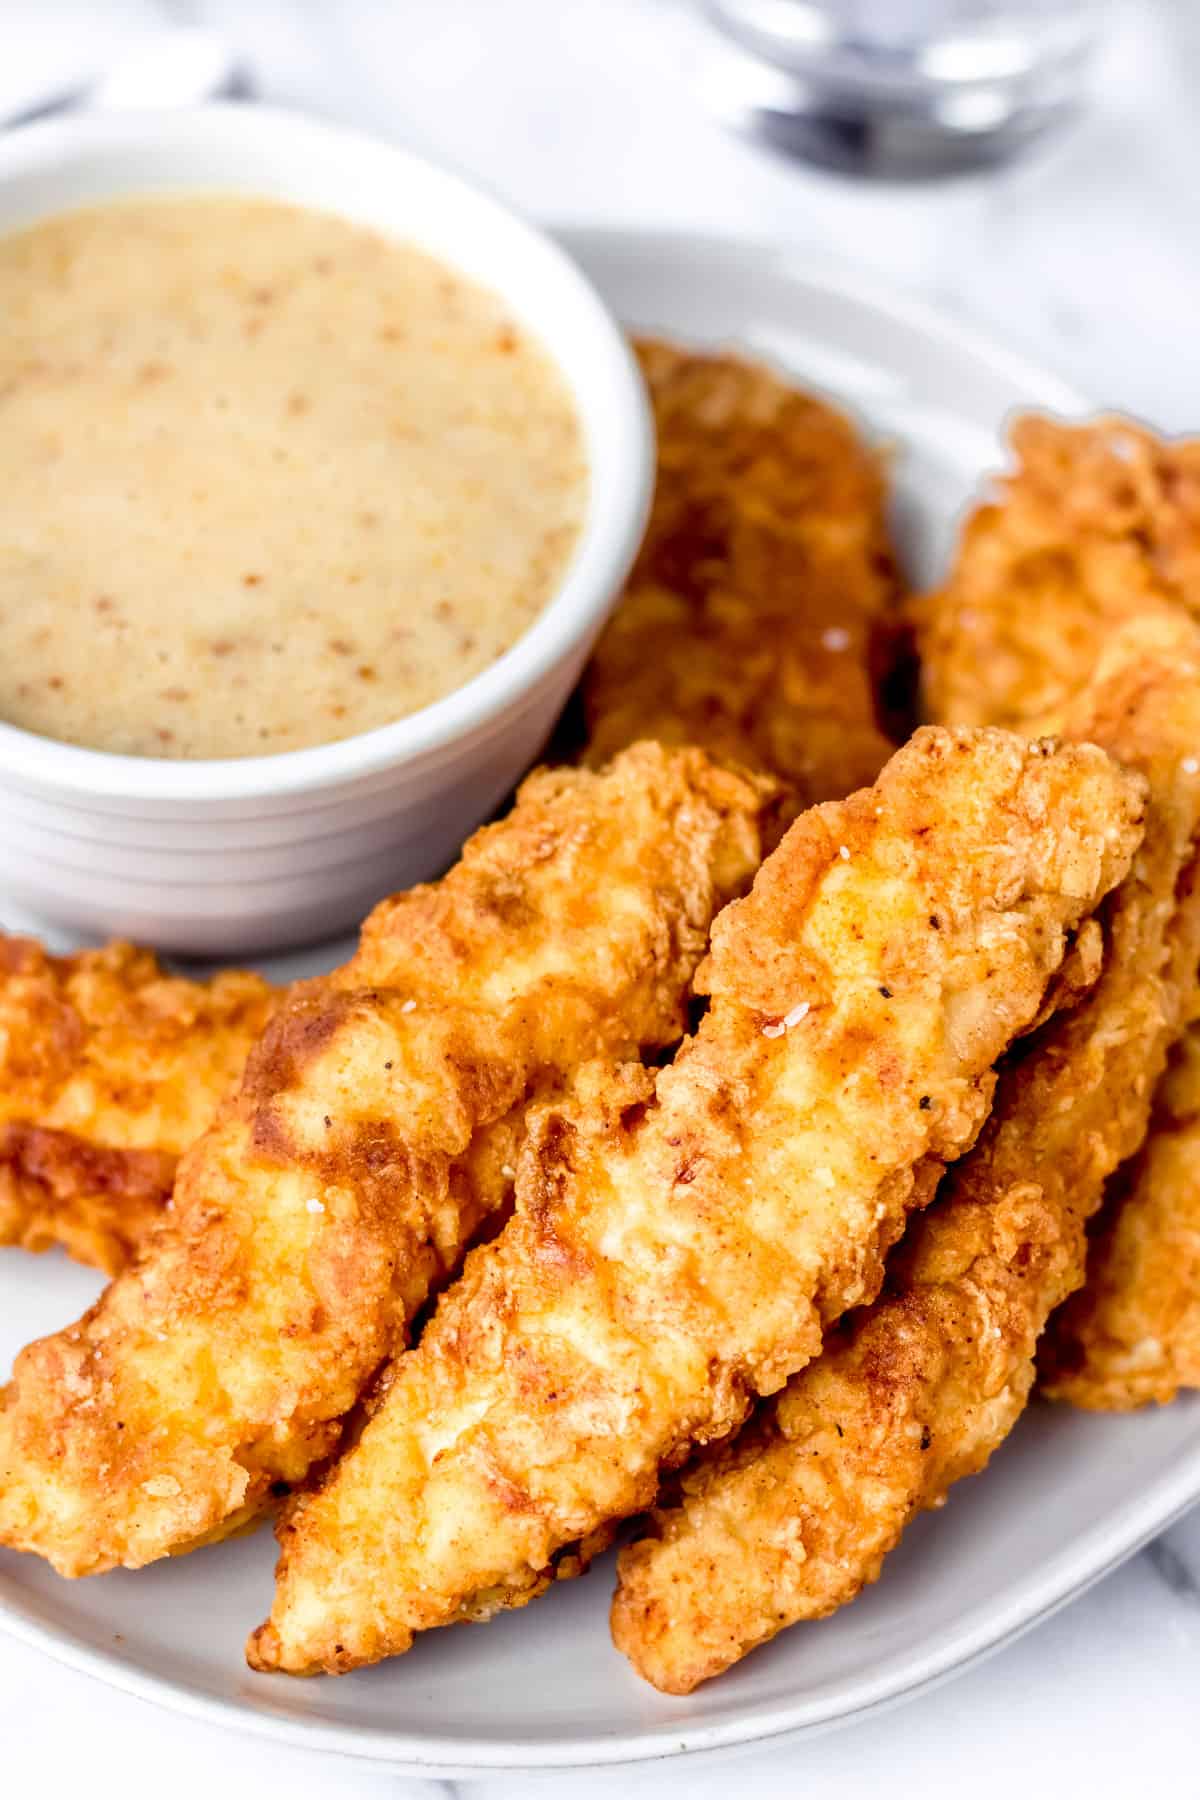
Credit: deliciouslittlebites.com
Frequently Asked Questions
How Long Does It Take For Raw Chicken Tenders To Fry?
Fry raw chicken tenders for 3-4 minutes per side over medium-high heat. Ensure internal temperature reaches 165°F.
How Long Does It Take To Fry Chicken In A Pan?
Pan-fry chicken for 3-4 minutes per side over medium-high heat. Ensure internal temperature reaches 165°F for safety.
How Long Do You Pan Fry Chicken Tenders?
Pan fry chicken tenders for about 3 to 4 minutes per side. Cook on medium-high heat until golden brown and internal temperature reaches 165°F (74°C). Avoid overcrowding the pan for even cooking and crispiness.
What Temperature Should I Use To Pan Fry Chicken Tenders?
Use medium-high heat when pan frying chicken tenders. This temperature ensures a crispy exterior while cooking the inside thoroughly. Too high heat may burn the coating before the chicken cooks through.
Conclusion
Pan frying chicken tenders takes about 3 to 4 minutes per side. Cook them until golden brown and fully cooked inside. Avoid overcrowding the pan to keep the temperature steady. Use medium-high heat and a little oil for best results.
Check doneness by cutting into a tender; juices should run clear. Serve hot for the best taste and texture. This simple timing helps make tender, juicy chicken every time. Enjoy your meal with confidence and ease.